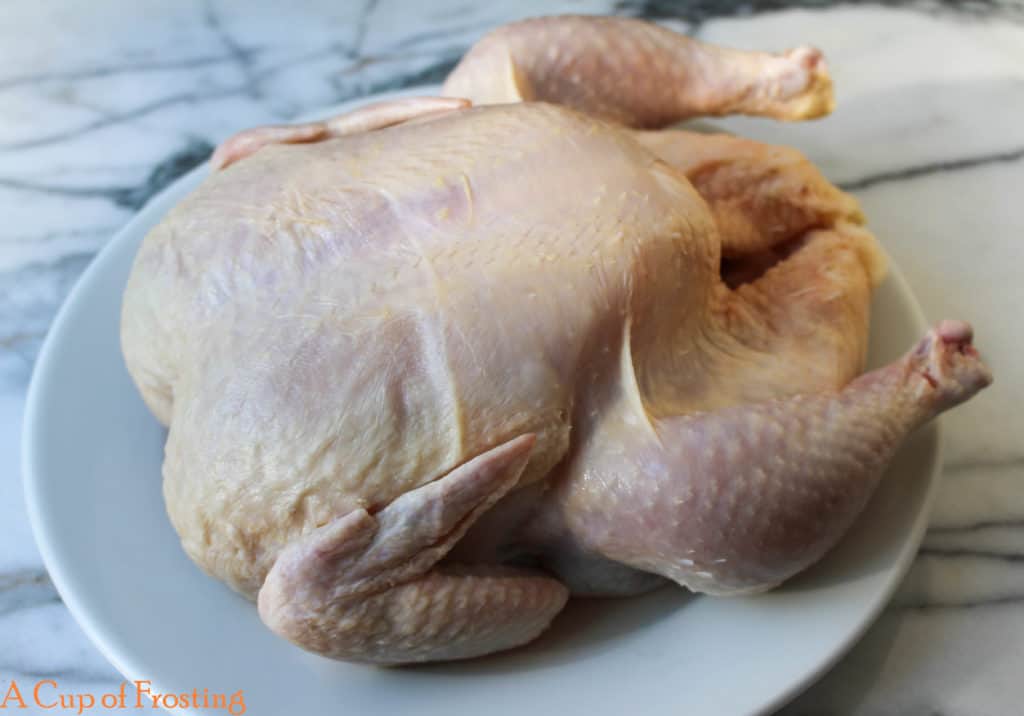
One day, I was walking through my local grocery store’s BBQ section and saw a beer can chicken holder. I felt pretty excited as I stuck it in my shopping cart. I’ve always wanted to make beer can chicken. It seemed like it would be so moist and yummy. I don’t know why it’s taken me so long to try cooking chicken with a beer can up its cavity. Oh wait, YES I DO, it’s because I get a little grossed out by whole raw chicken. In order to make beer can chicken, you have to take out the giblets and rinse out the cavity….eeewwwweee! I’m a bit of a wimp when it comes to handling raw meat. I had to prepare myself for the cleaning of the chicken. I took a few deep breaths, grabbed my longest tongs and took all the giblets out of the chicken cavity. I quickly tossed them away! I know some people love giblets, like my Dad, but I’m not a fan. As quickly as possible I rinsed the chicken with water inside and out and plopped it on a plate. Phew! I did it. I suddenly felt incredibly proud that I didn’t have to call someone else to have them come clean the chicken for me.
Here it is my cleaned, de-gibleted raw chicken… purdy ain’t it.
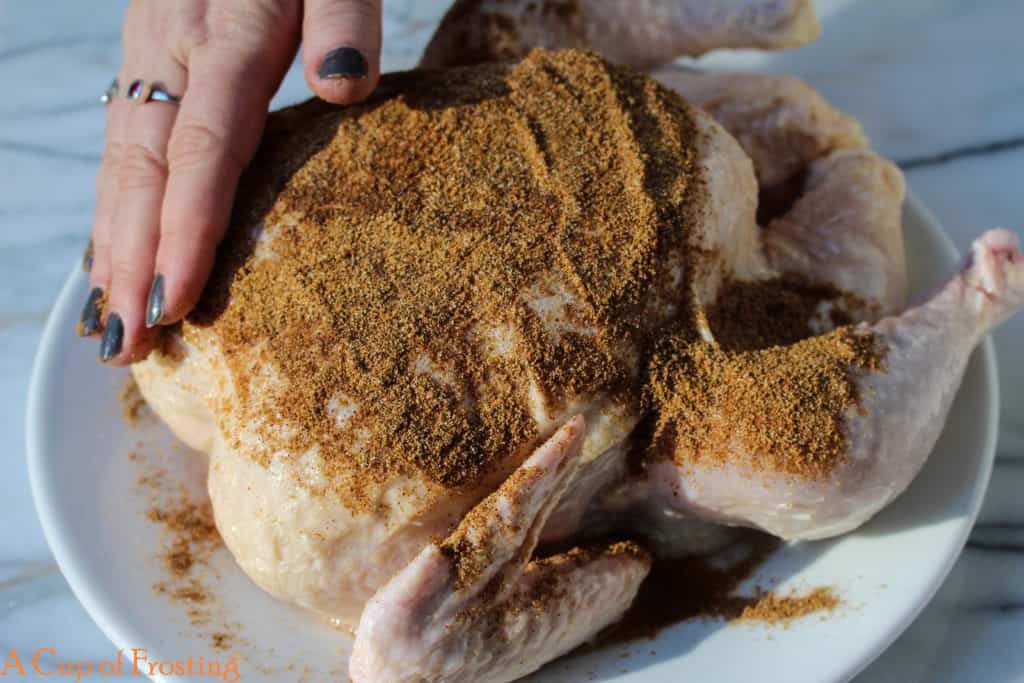
The next couple of steps were pretty easy and didn’t induce any feelings of queasiness. I mixed some herbs and spices together in a small bowl, patted the chicken dry with a paper towel, brushed the chicken with olive oil and then rubbed herbs and spices mixture on to the entire chicken leaving about 2 teaspoons of spice in the bowl for later. I have to note something here that I learned; rubbing the herbs and spices mixture onto the chicken is a lot easier when it’s already on the beer can.
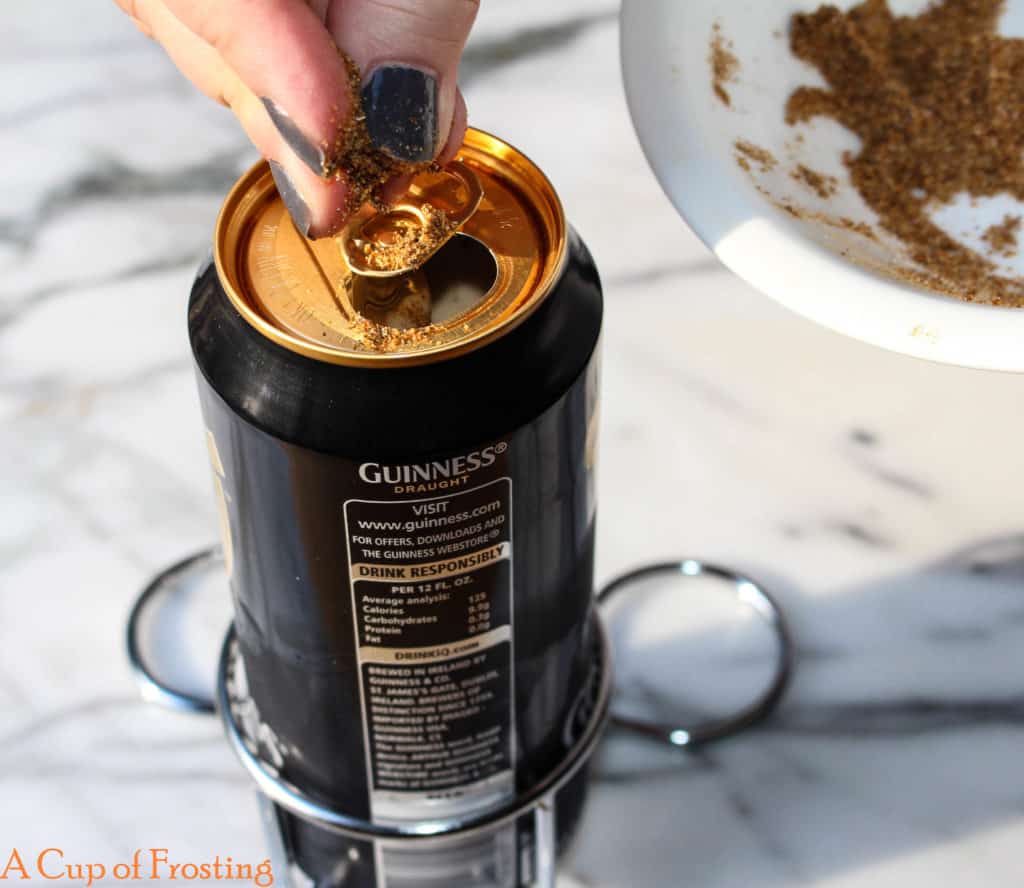
This was the fun part ?… I opened the can of beer that I would be using, a Guinness, and drank half the can (or you can empty half the can into the sink or have someone else drink half the can if you don’t like beer). The next step was to add the remaining herbs and spices to the half-drank can of beer. Once done, I poked a small hole in the top of the beer can with the beer can opener. I placed the beer can in my newly purchased “beer can chicken holder”. You can probably find a beer can chicken holder at Amazon, Home Depot, Walmart, Fred Meyer…basically wherever they are selling BBQ items. I placed the chicken-on-a-beer-can-in-a-beer-can-chicken-holder in a square tin pan that was big enough for the beer can chicken holder to fit.
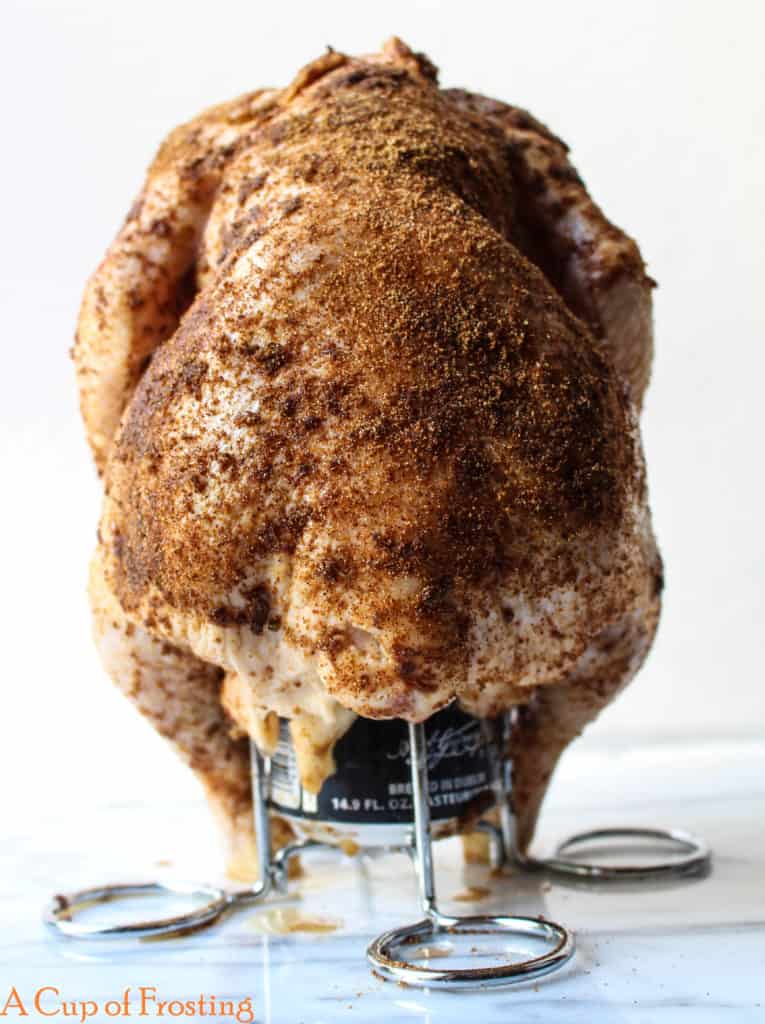
This is the not so fun part ☹… I had to get the raw, cleaned but seasoned chicken on the beer can. Again, I took a few deep breaths and tried to set the chicken cavity down on the beer can. My first attempt didn’t go very well. I couldn’t seem to get the beer can in the cavity. I think it was because I was not looking at what I was doing. I had closed my eyes. During my second attempt, I actually kept my eyes open and watched what I was doing. I was a little horrified but it went much better. The chicken was now sitting on the beer can. I felt triumphant!
All that was left to do now was to let the chicken cook in the BBQ for about an hour or so on indirect heat. Using indirect heat is VERY important in the cooking process. It’s time for me to fess up. The first time I attempted to make my Easy Beer Can Chicken, I completely failed. I cooked the chicken over direct heat. After the chicken was cooking for about 30 minutes, I saw flames shooting out the back of the BBQ. My chicken had caught on fire! I ran an opened the lid to the BBQ and my chicken was black, shrunken and on fire. Cooking the chicken on direct heat was definitely too hot. I really should’ve taken a picture of my cooking fail but I was in such a tizzy, I forgot. I think I’m going to add a “Cooking Fails” section to my blog. Cooking does not always go smoothly for me but I still love to do it. ?
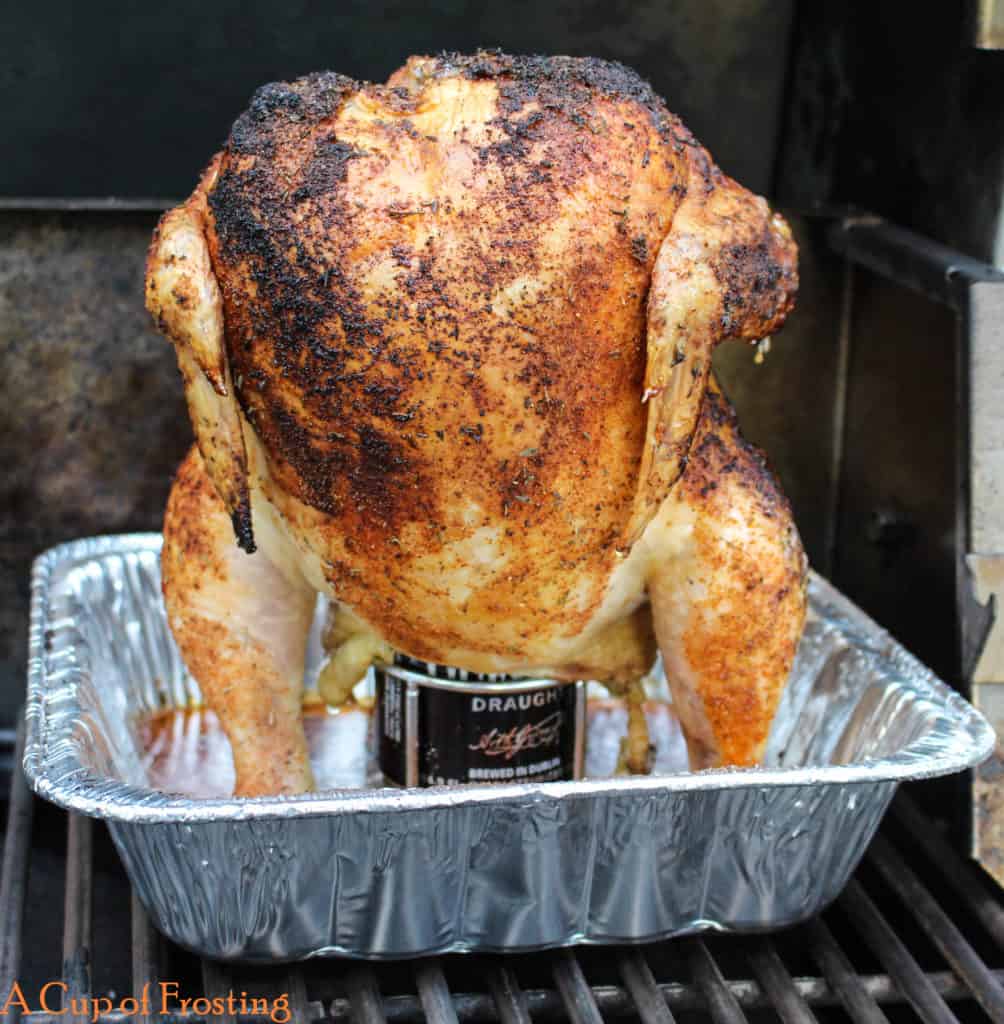
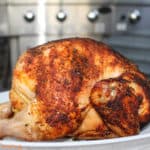
The second time I cooked my Easy Beer Can Chicken, it turned out moist and delicious. I liked using more savory spices but you can definitely use any spices you like. Give this Easy Beer Can Chicken a whirl. You’ll be glad you did.
Easy Beer Can Chicken
Ingredients
- 1 whole chicken cleaned and de-gibleted
- 1 can of dark beer I used Guinness
- ¼ cup of olive oil
- 2 teaspoons paprika
- 1 teaspoon onion powder
- 1 teaspoon garlic powder
- 1 teaspoon cayenne pepper
- 1 teaspoon dried thyme
- 1 teaspoon black pepper
- 1 teaspoon salt
- Some sort of drip pan big enough for the beer can chicken holder to fit onto. Trust me you’ll want to do this.
Instructions
- Preheat your grill to about 375 degrees. If you have a gas grill, don’t use all the burners. If you have two burners only turn on one to medium high. If you have 3 burners, only turn one on to medium-high and one on low to medium leaving the third burner off. If you are using coals, make sure the coals are mostly over to one side. You want to be able to cook your chicken with indirect heat.
- Mix the rest of the ingredients in a small bowl. Brush the chicken with olive oil. Rub the spice mixture onto the entire chicken leaving about 1 teaspoon of spice.
- Pop open the beer your using and drink about half (or pour out half) of the beer. Poke a hole in the top of the can. Pour the remaining teaspoon of spice in the beer. Place the beer in the beer can chicken holder. Place the chicken cavity onto the beer can.
- Place your beer can chicken onto the preheated grill (not over the direct heat). Close the cover of the grill and cook for approximately 1 1/4 hours or until the internal temperature is 165 degrees Fahrenheit in the breast; or until the thigh juice runs clear. You’ll want to turn the chicken every 20 – 25 minutes so all sides are browned nicely.
- Remove from grill and let rest for 10 minutes before carving. Enjoy! ?