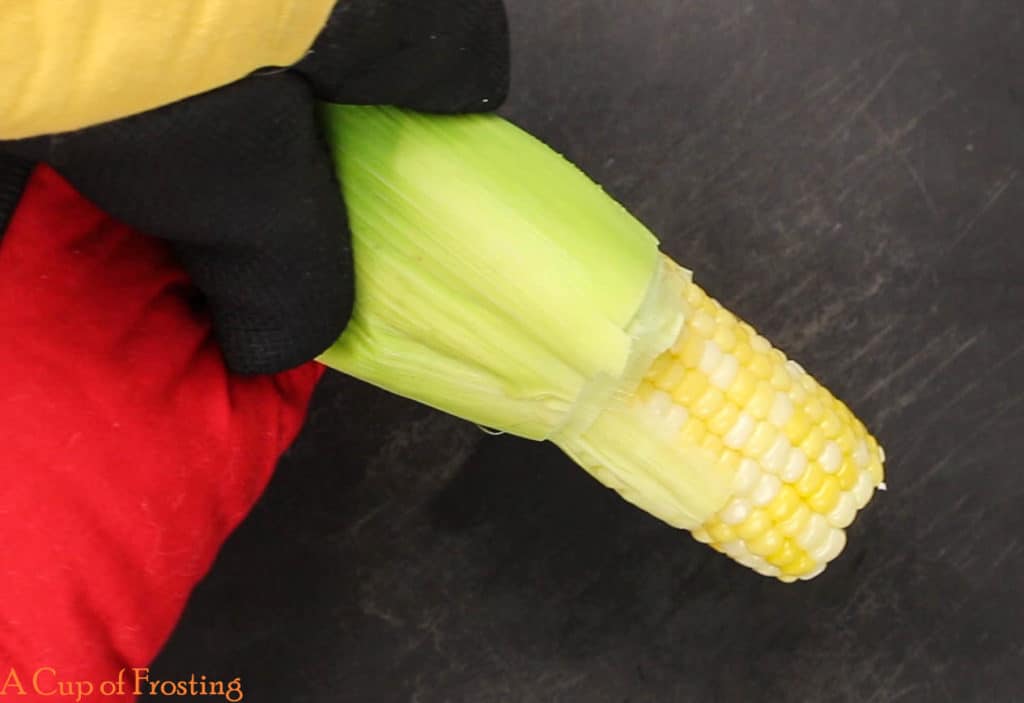
I love grilled corn on the cob but to have grilled corn on the cob, you have to shuck the corn. I greatly dislike having to shuck corn… at least I used to. ? I remember about 5 years ago, I saw a video on how to “shuck corn” using a microwave. Honestly, I didn’t think it would work for me but I raced down to the store with hope in my heart that my I-hate-corn-shucking days would be over. I came home with about 6 ears of corn just in case my first attempts at microwave corn shucking failed. First, I had to cut off the big end (stock end) about 1 or 2 rows into the kernels, which was no easy task. I needed a very sturdy sharp knife for this. I placed one ear of corn with its husk still intact in the microwave and nuked it for 2 minutes. I pulled the corn out of the microwave. Using oven mittens on both hands, I squeezed the smaller, non-stock end of the corn from the top. I couldn’t believe my eyes, the corn on the cob started coming out the bottom of the husk with no silk on it. It worked the very first time! I was incredibly excited about my new discovery and shucked the rest of the corn the same way.
Now that shucking corn is much easier, I find myself gravitating towards grilled corn on the cob during the summer months. I usually eat it with just butter and salt (I’m a bit of a salt fiend). This summer I wanted to up my grilled corn on the cob game. I was having some friends (aka guinea pigs) over for a BBQ so I felt it was a perfect time to try out my Grilled Pesto Corn on the Cob. Again, I love my friends for putting up with me trying new dishes out on them and then eagerly staring at them waiting for feedback.
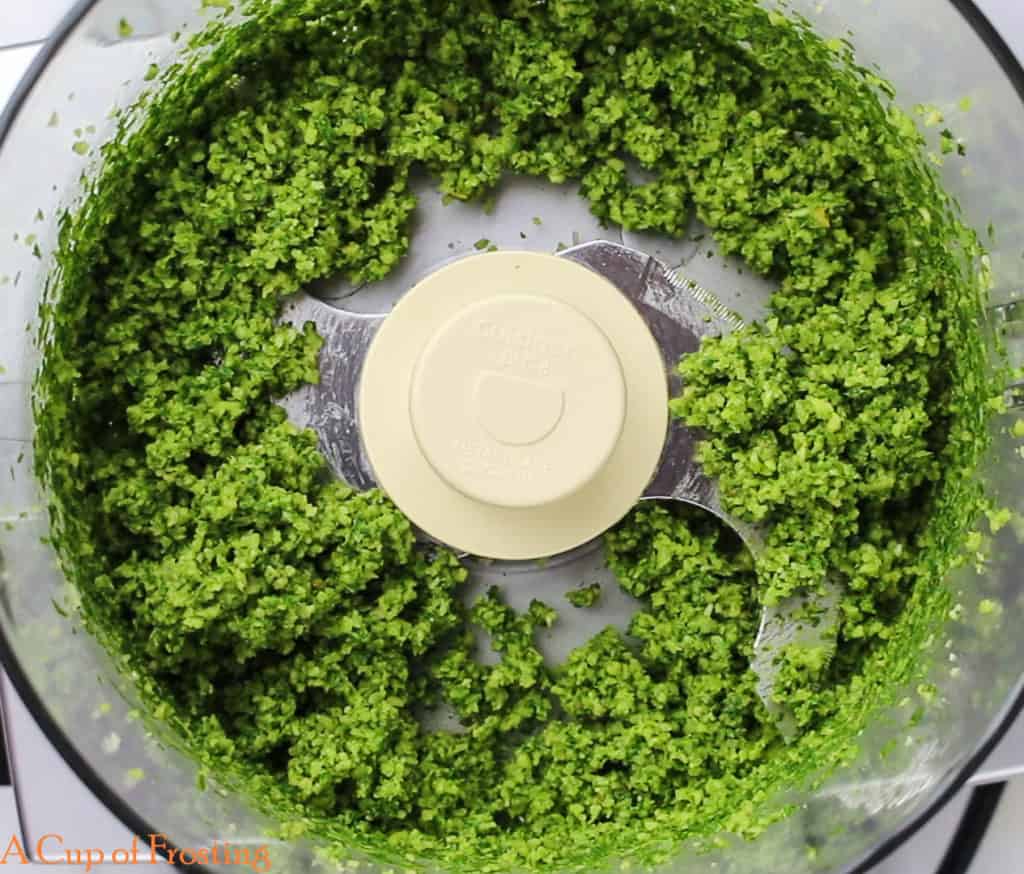
For this recipe, I made my own pesto in a food processor. You can also use store bought pesto if you are in a time crunch. To make the pesto throw basil, Parmesan cheese, garlic and pine nuts in a food processor and pulse until it looks like this:
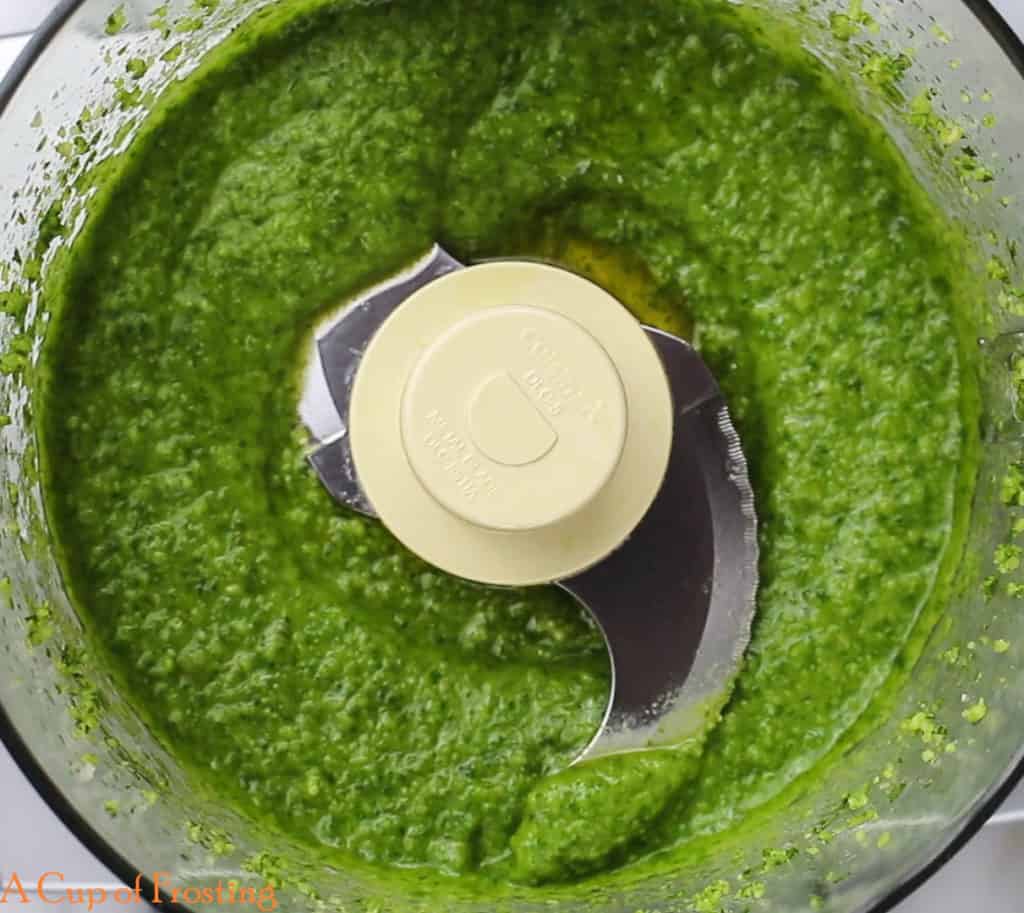
Then slowly add the olive oil in a steady stream while the food process is running. This will help the olive oil emulsify and keep it from separating.
Next, slather the pesto on the corn on the cob. Oh my, just looking at this picture makes my mouth water again. It was so yummy. A side note here, I put my corn on the cob on top of a sheet of aluminum foil in the grill. It makes for easier cleanup and you’ll still get the char marks.
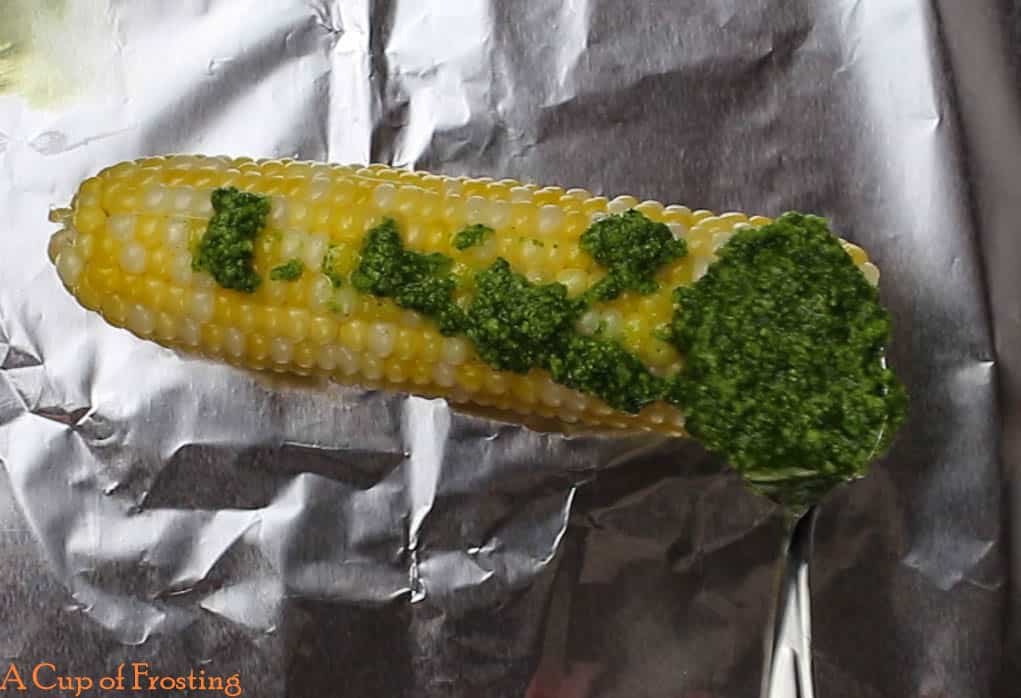
I didn’t use cooking spray on the foil because there is oil in the pesto that keeps the corn from sticking. Make sure to sprinkle the cheese on the corn before grilling. You’ll want the cheese to melt onto the corn.
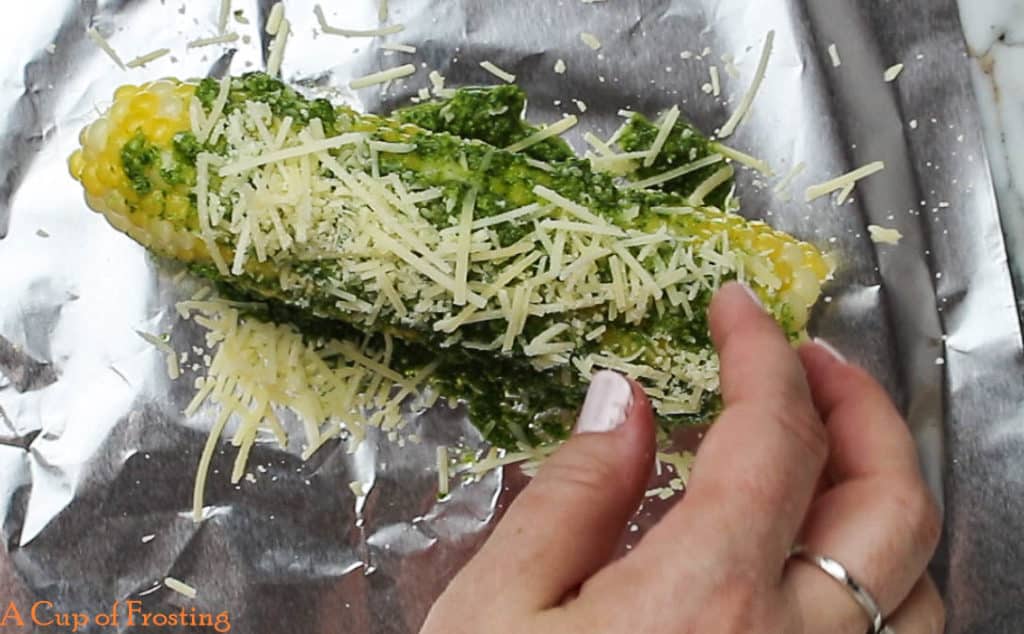
If some of the cheese falls off and melts onto the aluminum foil, then it creates Parmesan/Romano cheese crisps, which is a tasty side benefit. I found myself peeling the melted cheese crisps off the aluminum foil and eating them. Yum!
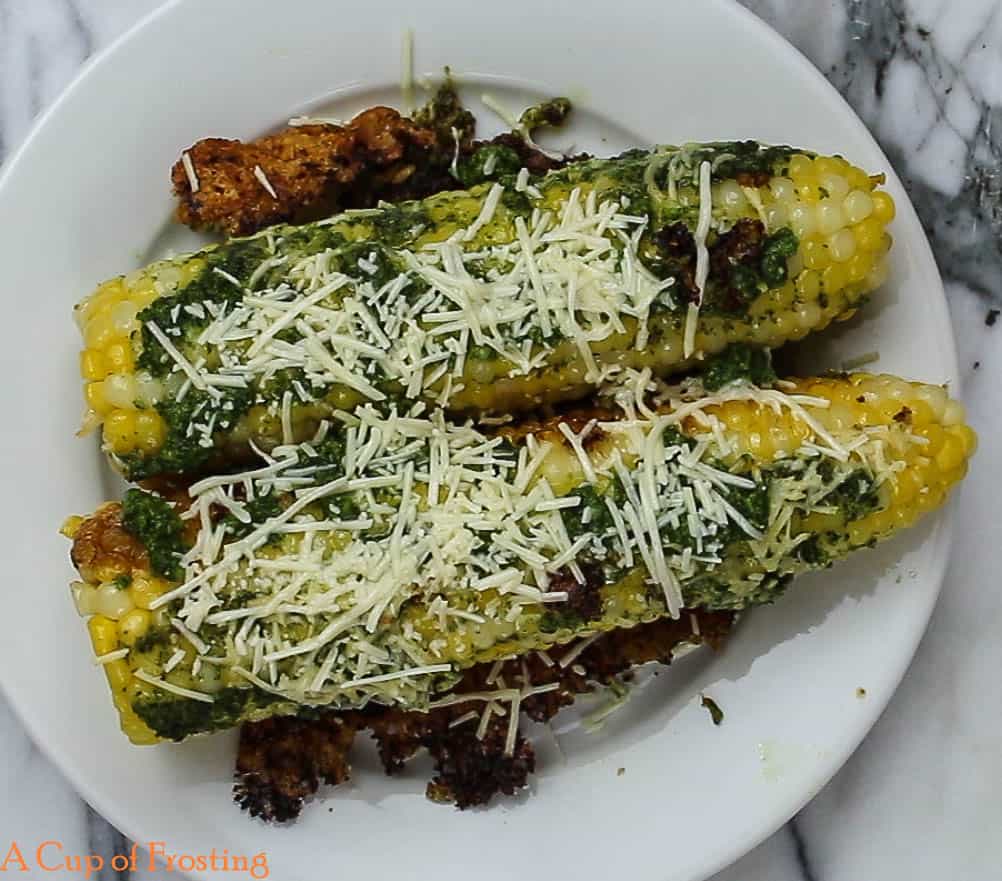
This Grilled Pesto Corn on the Cob has great flavor. The crispy pieces next to the cobs of corn is the little bits of melted cheese crisps. It’s a bit messy to eat but so worth it. Just have a napkin handy!
Grilled Pesto Corn on the Cob
Ingredients
- 4 ears of corn shucked
- 1/2 cup or more if needed grated Romano or Parmesan cheese, set aside for the topping
Pesto:
- 2 cups fresh basil leaves packed
- 1/2 cup grated Romano or Parmesan cheese I used a mix of both
- 1/3 cup pine nuts
- 2 garlic cloves minced
- 1/3 cup extra virgin olive oil
Instructions
- Heat the grill to medium high heat (about 350 degrees). Shuck the corn taking off the husks and silky threads.
- Prepare the pesto by adding all the ingredients from the basil leaves through the garlic into a food processor. Pulse until the ingredients are incorporated well. Slowly add the olive oil to the basil mixture in a steady stream through the opening in the lid of the food processor while it’s running until well mixed.
- Spread ¼ of the pesto mixture all over each corn on the cob. It’s easier to do this if the corn is on a large plate. Put a piece of foil big enough for 4 ears of corn down on the grill grates being careful not to burn your fingers. Liberally sprinkle the cheese set aside for the topping on each piece of corn. If some cheese falls off the cobs during the process, it’s okay, you’ll have some nice little bits of cheese crisps to eat afterward. ?
- Grill the corn for 2 – 4 minutes on each side, turning the cob if you see a side darkening too much. Don’t worry if the cheese falls off, you can add more cheese at the end of grilling on the last turn. It should take 12 – 15 minutes to grill the corn. When removing the corn from the grill, make sure to use tongs. The corn will be very hot. You should allow the corn to cool off for at least a few minutes before eating it. Enjoy!